Accessing Manage Dates
The Manage Dates tool is located in the Course Administration menu. Navigate to this menu by clicking the Edit Course link on the default course navigation bar.


The Manage Dates tool allows you to edit dates attached to course materials and learning activities in individually or in bulk. This tool can also shift a date or a bulk set of dates forward or backwards. This feature is extremely helpful when your reused course content needs to reflect current semester dates.
-
Filtering Options
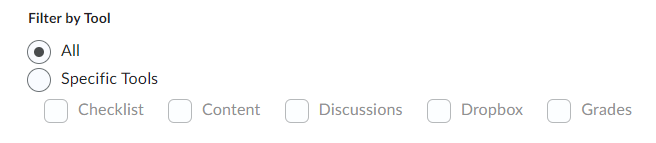
From within the Manage Dates tool you have the ability to filter the learning activities and content that appear in the editing table. Note that you must mark the checkbox to the left of the specific filtering option in order for that option to activate.
- Tools - By default D2L will list all content across all tools. You have the option to select
the Specific Tools radio button and then mark the checkboxes for the specific tools
you want displayed in the editing table.
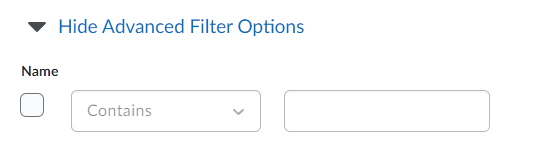
- By clicking on Show Advanced Filter Options, you will be displayed with more ways to filter items.
- Filtering by Name allows you to enter a name or partial name and then choose the appropriate operator
from the dropbox menu.
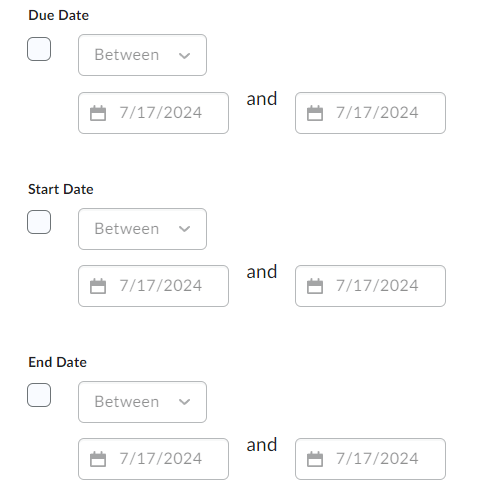
- Use the Due, Start or End Dates to filter items items that fall before, after, or between dates you specify.
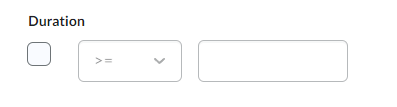
- Duration -Select and operator and enter the number of days a learning activity or piece of
content is currently available.
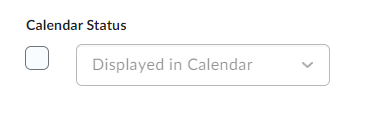
- Calendar - Select whether or not the item currently displays in the calendar.
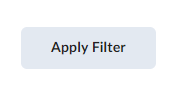
- Apply - Click the Apply button to apply the selected filtering options.
- Tools - By default D2L will list all content across all tools. You have the option to select
the Specific Tools radio button and then mark the checkboxes for the specific tools
you want displayed in the editing table.
-
Edit Individual Dates
Add, edit, or remove dates of individual items with the Manage Dates tool.
Add/Edit Dates on An Individual Item
- Hover your cursor over the item you would like to edit. A context arrow will appear on
the right-hand side of the item's name. Click the arrow to expand the context options.
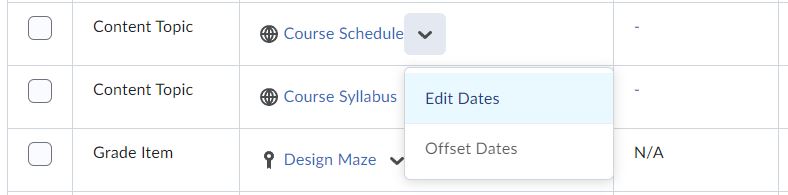
- Select Edit Dates from the context menu.
- Mark the checkboxes for Has Due, Has Start and/or Has End Dates.
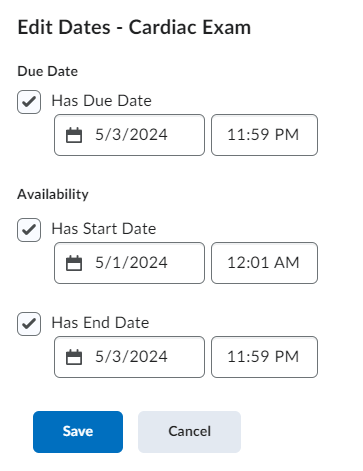
- Enter a Date and Time into the appropriate text boxes.
- The Date field will display a calendar.
- The Time field will display a list of times in 30-minute increments. You have the ability to manually type in a time.
- If you would like the Start/End dates to appear in the Calendar and tin the student's Upcoming Events, mark the Display in Calendar option.
- Click Save to return to the editing table.
Remove Dates on An Individual Item
- Locate the item with the dates you would like to remove.
- Click the Xbelow the current dates.

- Repeat for each date you would like to remove.
- Hover your cursor over the item you would like to edit. A context arrow will appear on
the right-hand side of the item's name. Click the arrow to expand the context options.
-
Edit Dates in Bulk
Add/Edit Dates in Bulk
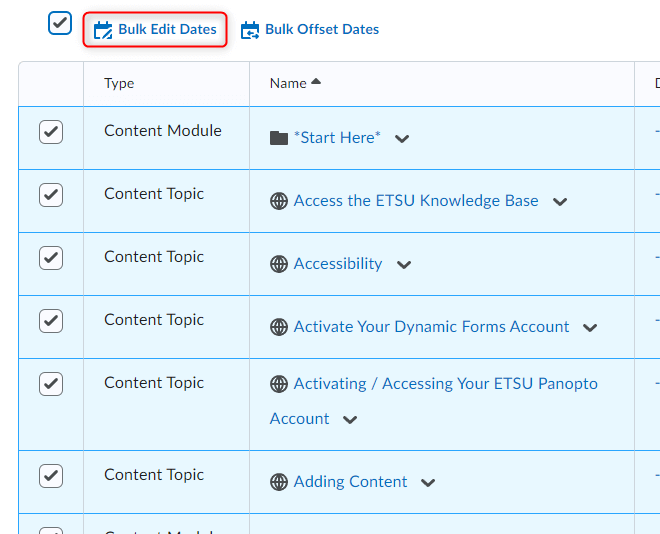
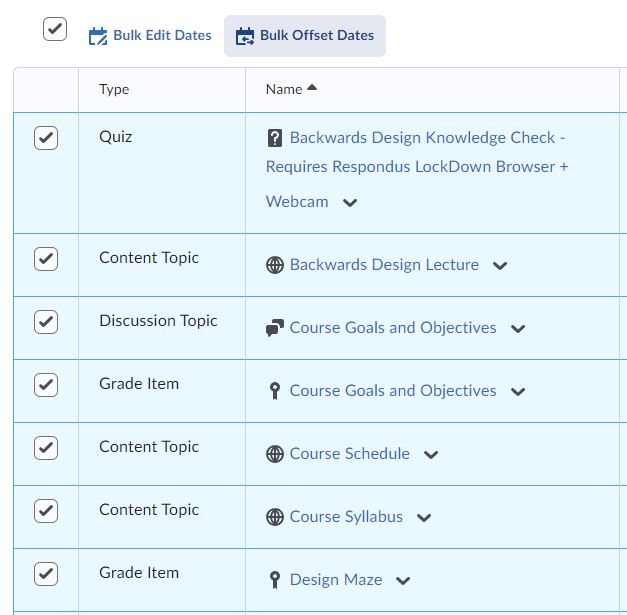
- Mark the checkboxes for the individual items you would like to edit. Alternately, check the select all
checkbox located to the left of the action buttons.

- Click the Bulk Edit Dates action button.
- Mark the checkboxes for Due Dates,Start and/orEnd Dates and select the desired Visibility.
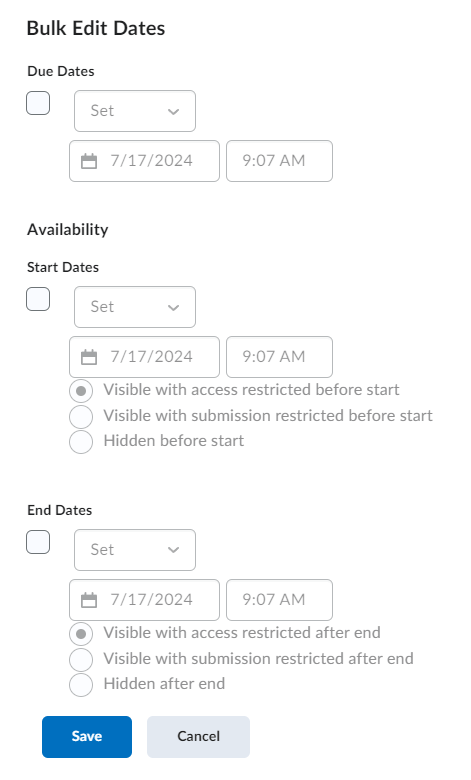
- Enter a Date and Time into the appropriate text boxes.
- The Date field will display a calendar.
- The Time field will display a list of times in 30-minute increments. You have the ability to manually type in a time.
- Mark the Display in Calendar checkbox to have the dates appear in the Calendar and a student's upcoming events.
- Click Save.
Remove Dates in Bulk
- Mark the checkboxes for the individual items you would like to edit. Alternately, check the select all
checkbox located to the left of the action buttons.
- Click the Bulk Edit Dates action button.
- Mark the checkboxes for Due,Start and/or End Dates.
- Select Remove from the drop-down menu for Start and/or End dates.
- Click Save.
- Mark the checkboxes for the individual items you would like to edit. Alternately, check the select all
checkbox located to the left of the action buttons.
-
Offset Individual Dates
Offsetting dates allows for you to move content forward or backward by a specific number of dates. Offsetting dates can also allow for you to move dates based on a dates calculated based on two dates. For example, if you choose to reuse course content from Fall 2014 in your Spring 2015 course, you can select the Dates calculated based on two dates option, enter the last day of the Fall semester into the From box, enter the first day of spring classes into the To box, and D2L will calculate the number of dates and then offset the item(s).
- Hover your cursor over the item you would like to edit. A context arrow will appear on
the right-hand side of the item's name. Click the arrow to expand the context options.
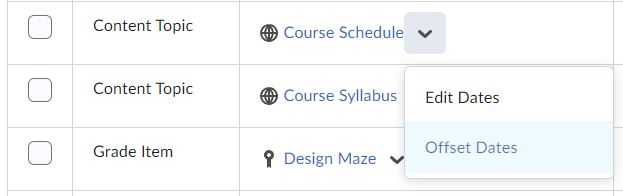
- Select Offset Dates from the context menu.
- Select an Offset mechanism.
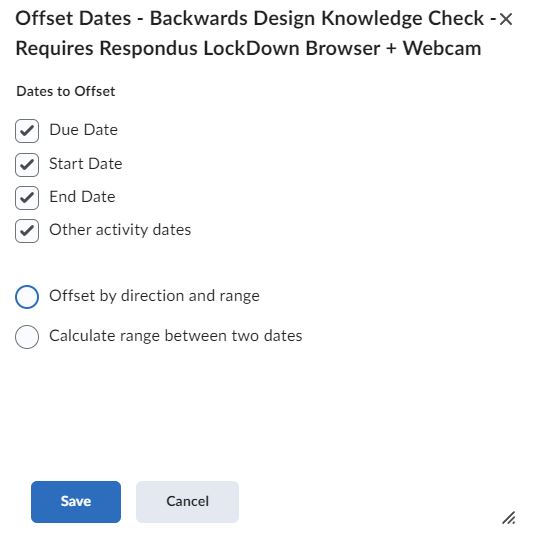
- Both Start Date and End Date will offset both the start and end dates.
- Start Date Only will offset the start date only.
- End Date Only will offset the end date only.
- Select a Days mechanism.
- Forward will shift the dates select forward by a specified number of days.
- Selecting this option will require that you enter a specific number of dates into the available text box.
- Backward will shift the dates select backwards by a specified number of days.
- Selecting this option will require that you enter a specific number of dates into the available text box.
- Calculated based on two dates will ask that you enter a from and to date so that D2L can calculate the number of days to shift items.
- After entering the from and to dates, click calculate.
- Forward will shift the dates select forward by a specified number of days.
- Click Save to Offset the item's date.
- Hover your cursor over the item you would like to edit. A context arrow will appear on
the right-hand side of the item's name. Click the arrow to expand the context options.
-
Offset Dates in Bulk
Offsetting dates allows for you to move content forward or backward by a specific number of dates. Offsetting dates can also allow for you to move dates based on a dates calculated based on two dates. For example, if you choose to reuse course content from Fall 2014 in your Spring 2015 course, you can select the Dates calculated based on two dates option, enter the last day of the Fall semester into the From box, enter the first day of spring classes into the To box, and D2L will calculate the number of dates and then offset the item(s).
- Mark the checkboxes for the individual items you would like to edit. Alternately, check the select all
checkbox located to the left of the action buttons.
- Click the Offset Dates action button.
- Select an Offset mechanism.
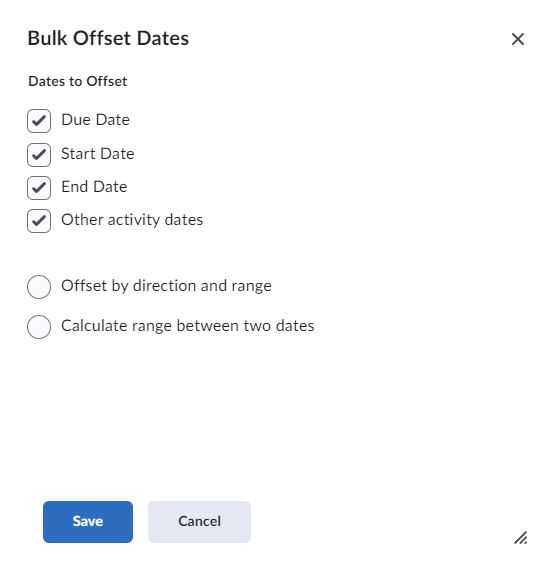
- Both Start Date and End Date will offset both the start and end dates.
- Start Date Only will offset the start date only.
- End Date Only will offset the end date only.
- Select a Days mechanism.
- Forward will shift the dates select forward by a specified number of days.
- Selecting this option will require that you enter a specific number of dates into the available text box.
- Backward will shift the dates select backwards by a specified number of days.
- Selecting this option will require that you enter a specific number of dates into the available text box.
- Calculated based on two dates will ask that you enter a from and to date so that D2L can calculate the number of days to shift items.
- After entering the from and to dates, click calculate.
- Forward will shift the dates select forward by a specified number of days.
- Click Save to Offset the items' date.
- Mark the checkboxes for the individual items you would like to edit. Alternately, check the select all
checkbox located to the left of the action buttons.